
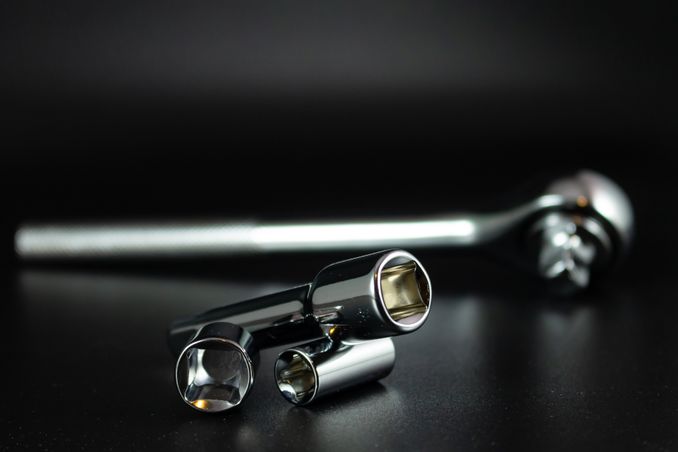
A torque wrench is one of the most useful tools you can own, especially for automotive and machinery work. It helps you tighten bolts to the exact right level — not too loose, which can cause parts to fail, and not too tight, which can strip threads or crack components. Learning to use it correctly protects both your project and your tools. Here’s a simple step-by-step guide.
1. Know your torque setting. Every bolt has a recommended torque value. Check your vehicle or equipment manual for the correct number before you begin. Guessing can lead to costly damage.
2. Set the wrench. Adjust the dial or handle to the exact torque value you need. Make sure it’s locked in place so it doesn’t shift while you work.
3. Place it properly. Fit the socket firmly onto the bolt and keep the wrench straight. An angled or loose fit can throw off your accuracy.
4. Turn slowly and steadily. Apply smooth, even pressure. Avoid jerking or rushing, as sudden force can strip the bolt or give a false reading.
5. Stop at the click. Most torque wrenches make a clicking sound or feel when the correct tightness is reached. As soon as you feel it, stop turning immediately.
6. Reset after use. Turn the setting back to the lowest number before storing. This relieves tension on the internal spring and keeps the wrench accurate for years.
A few extra tips: never use a torque wrench to loosen bolts, and store it in its case to protect the calibration. If you use it often, have it checked for accuracy from time to time.
By following these steps, you’ll avoid stripped bolts, damaged parts, and wasted money. Take your time, stay patient, and you’ll get a secure, professional-quality fit every single time.